Repairing Gelcoat: The Process, Step-by-Step
A summary of the gelcoat repair process.
GELCOAT REPAIR
12/24/20242 min read
If you're a boat owner, you've likely encountered the need for gelcoat repair at some point. Whether it's a minor scratch or a deeper gouge, maintaining your boat's gelcoat is crucial for both aesthetics and protection. Below is a comprehensive guide to how professionals like Yacht Daddy tackle gelcoat repairs.
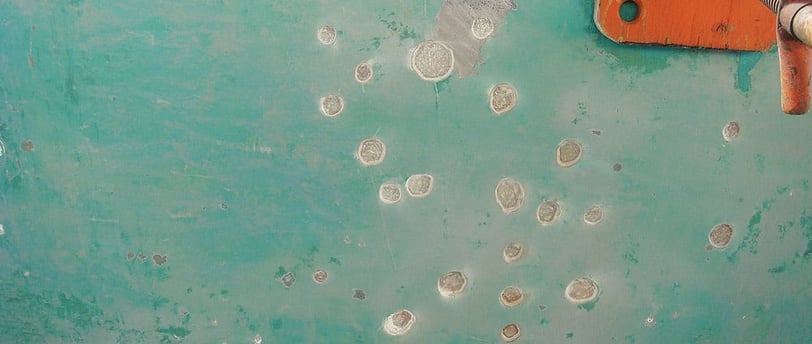
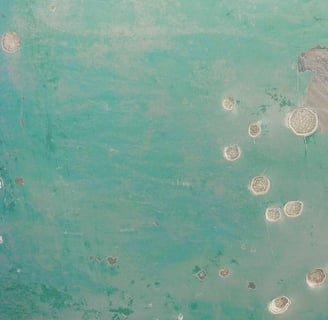
Assessing the Damage
Before diving into repairs, the extent of the damage is carefully examined. Though wet sanding may be sufficient for minor scuffs or scratches, deeper gouges or cracks require a more comprehensive repair process as outlined below.
The Repair Process
1. Surface Preparation
The process begins by cleaning the damaged area thoroughly with soap and water. Next, the area is wiped with acetone to remove any wax or contaminants. For repairs to areas with deeper damage, a power drill with a conical grinding bit is used to create a V-shaped notch that will improve the bonding surface.
2. Sanding and Taping
The area around the damage is prepared by sanding with 80-grit sandpaper to remove loose chips and create a shallow bevel. Then, masking tape is used to create a perimeter around the damaged area and protect the surrounding surfaces.
3. Mixing the Gelcoat
The gelcoat paste is mixed with hardener according to each manufacturer's instructions. If color matching is necessary, pigments are added to this mixture until the right shade is achieved (see our “How to Color Match Gelcoat Repairs” for additional information regarding color matching.
4. Applying the Gelcoat
The gelcoat mixture is applied to the damaged area using a plastic spreader or putty knife, ensuring that the area is filled completely, leaving no air pockets. Given gelcoat’s tendency to shrink when curing, a slight excess is typically applied which can be later sanded down flush with the surrounding area to create a uniform finish.
5. Covering and Curing
The repaired area is covered with release film or plastic wrap to seal off the gelcoat from air exposure, allowing it to cure properly. Typically the repairs are allowed to cure overnight for best results.
6. Sanding and Finishing
After curing, the covering is removed and the repair is wet sanded starting with 320-grit sandpaper and progressively moving to finer grits (600, 1000, etc.). After sanding is complete, the area is buffed with a rubbing compound and a coat of wax-based gelcoat polish is applied.
Additional Considerations
For better results apply multiple thin coats rather than a single thick coat.
For larger repairs, a spray applicator is preferred for more even coverage.
Hiring a professional is key for optimum results–gelcoat repair is a skill that improves with experience. With patience and attention to detail, Yacht Daddy can restore your boat's gelcoat to its former glory, ensuring your vessel looks great and stays protected on the water.